Plan a robot head from the inside as well as the outside. Map the actual parts, their connectors, the routes between them and the space needed to remove them. A convincing face becomes a frustrating enclosure if every repair starts with breaking the hair off.
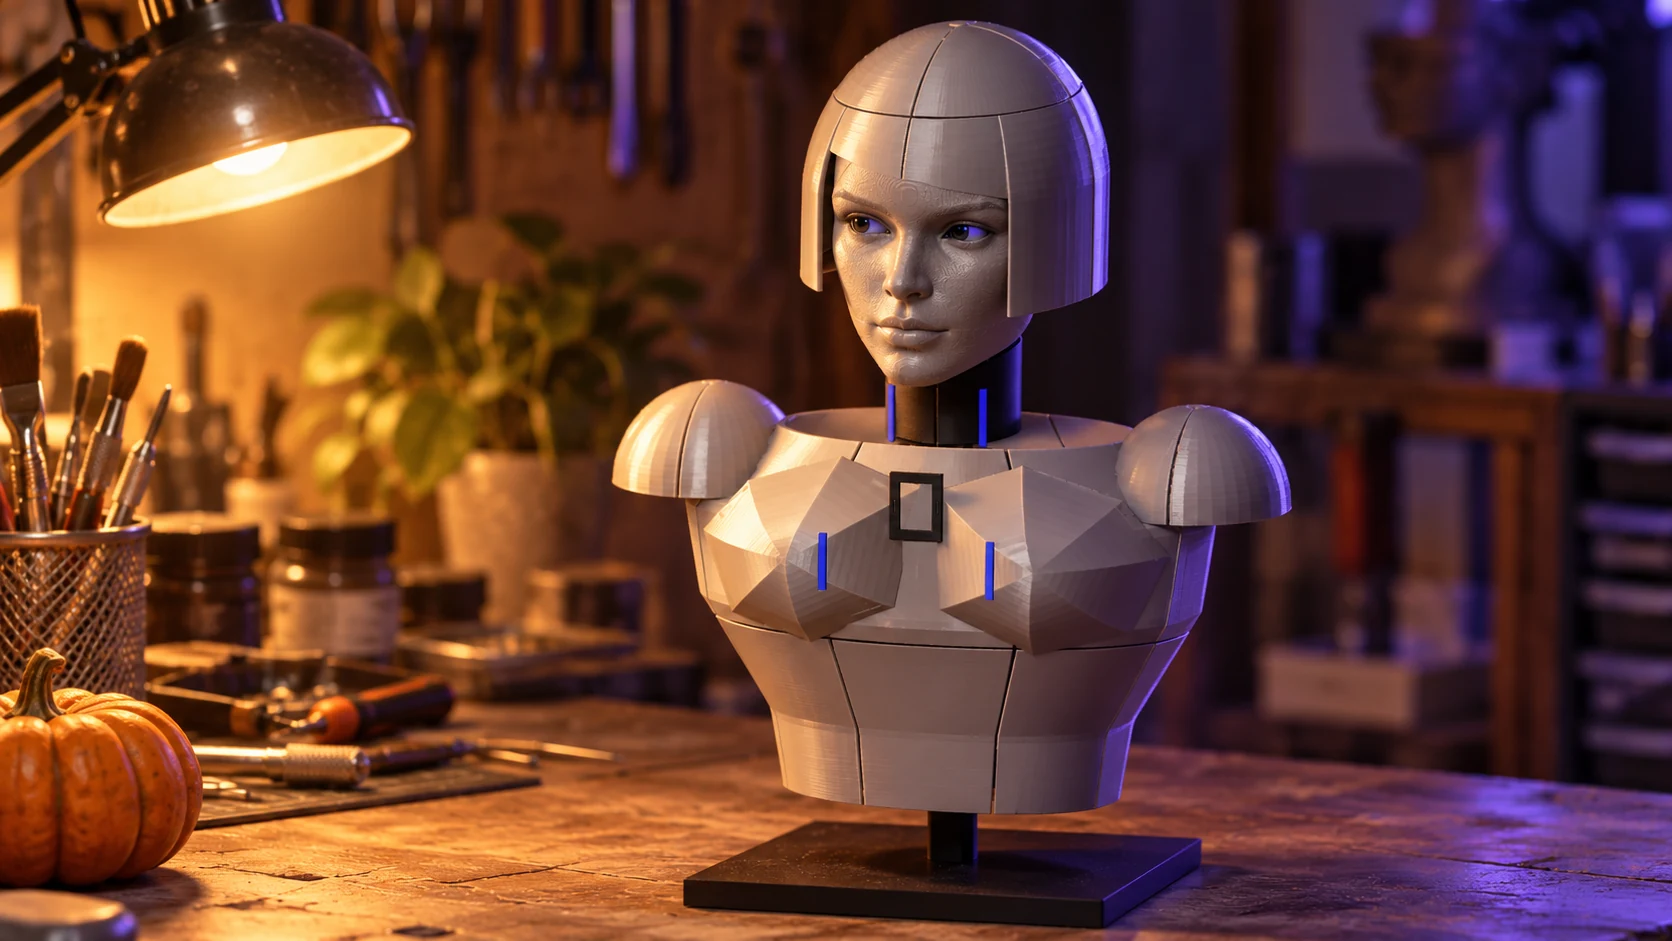
For the Nyx workshop build, cameras, displays, controllers, CAD and mechanisms belong to an ongoing experiment. The useful first task for your own project is a layout you can inspect before anything is powered.
Start with the exact parts
Write down the specific board or module you intend to use. Record its outside dimensions, mounting positions and the direction each connector faces. A connector with a cable in it occupies more room than a bare socket.
Use the manufacturer's documentation for the exact device. Raspberry Pi's hardware reference and Espressif's hardware references provide starting points. A chip-family reference does not replace the diagram for a particular camera board assembled by another manufacturer.
Do not guess that two similarly named modules share pin assignments or power requirements. This page is a layout exercise; electrical integration needs the matching component documentation and a checked plan.
Make a map with four kinds of space
Draw the head and neck in side view. Mark:
- Structure: The parts that carry the shell and keep it positioned.
- Components: The actual volumes of boards, displays, camera and audio parts.
- Connections: Plugs, cable paths and room to disconnect them.
- Service access: The opening and hand space needed to remove a part.
Add mounting features to the drawing. A board floating neatly in a sketch still needs a supported position. Avoid solving mounting by pressing electronics against an outer panel.
Leave room for cooling arrangements appropriate to the selected equipment. A vent drawn in a place covered by hair will not do the intended job.
Test the layout with paper blocks
Cut card rectangles representing the parts, and use folded blocks where their depth matters. Mark sockets and mounting holes. Paper stand-ins should represent the real occupied space, including bulky plugs.
Place them inside a rough shell or beside a full-size side drawing. Use string or loose paper strips to represent connection routes. Keep the exercise unpowered.
Now remove one component while leaving its neighbours in position. What obstructs it? What would have to move first? Can you reach the fasteners with the tool you expect to use?
This is a useful place to discover that a decorative panel needs to be removable.
Design the opening before the finish
Choose where the head opens and how the opening relates to the face, hair and neck. Make a small joint sample or fit coupon before committing to large prints.
Test alignment and access on that sample. A digital measurement can identify a proposed fit; a physical coupon shows how your printer, material and chosen settings produce it.
For a character bust, a removable rear section may serve a different job from a removable eye assembly. Describe both jobs rather than treating every seam as decoration.
The first robot-bust guide supplies a simple mock-up route. Our prop-weathering guide can wait until the form is serviceable.
Keep a build record people can follow
Give the layout a version. Record which exact parts it represents and which relationships remain untested. Photograph open and closed states, then annotate the important clearances.
Use a short check before revising:
- Can the intended component be installed?
- Can it be disconnected and removed?
- Can the shell close without trapping anything?
- Does the character still read from the intended view?
- What physical test would settle the next uncertainty?
Keep mechanical layout, electrical checks and performance tests as distinct records. Success in one does not establish the others.
A head you can open invites the next experiment. A sealed mystery object mostly invites swearing.