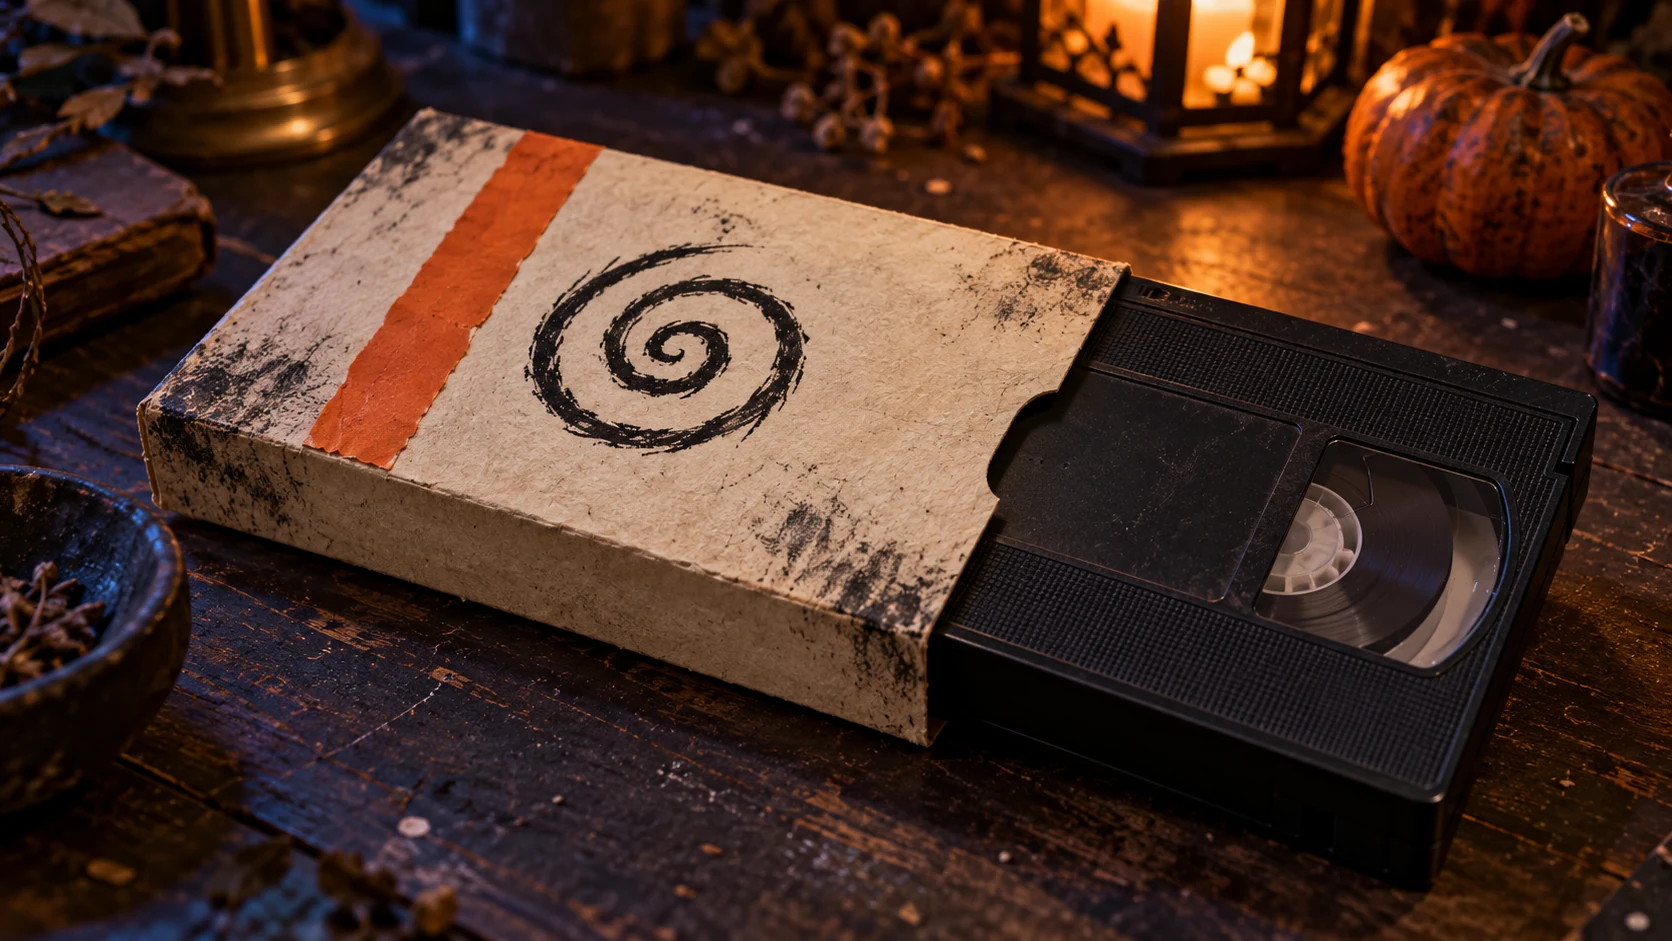
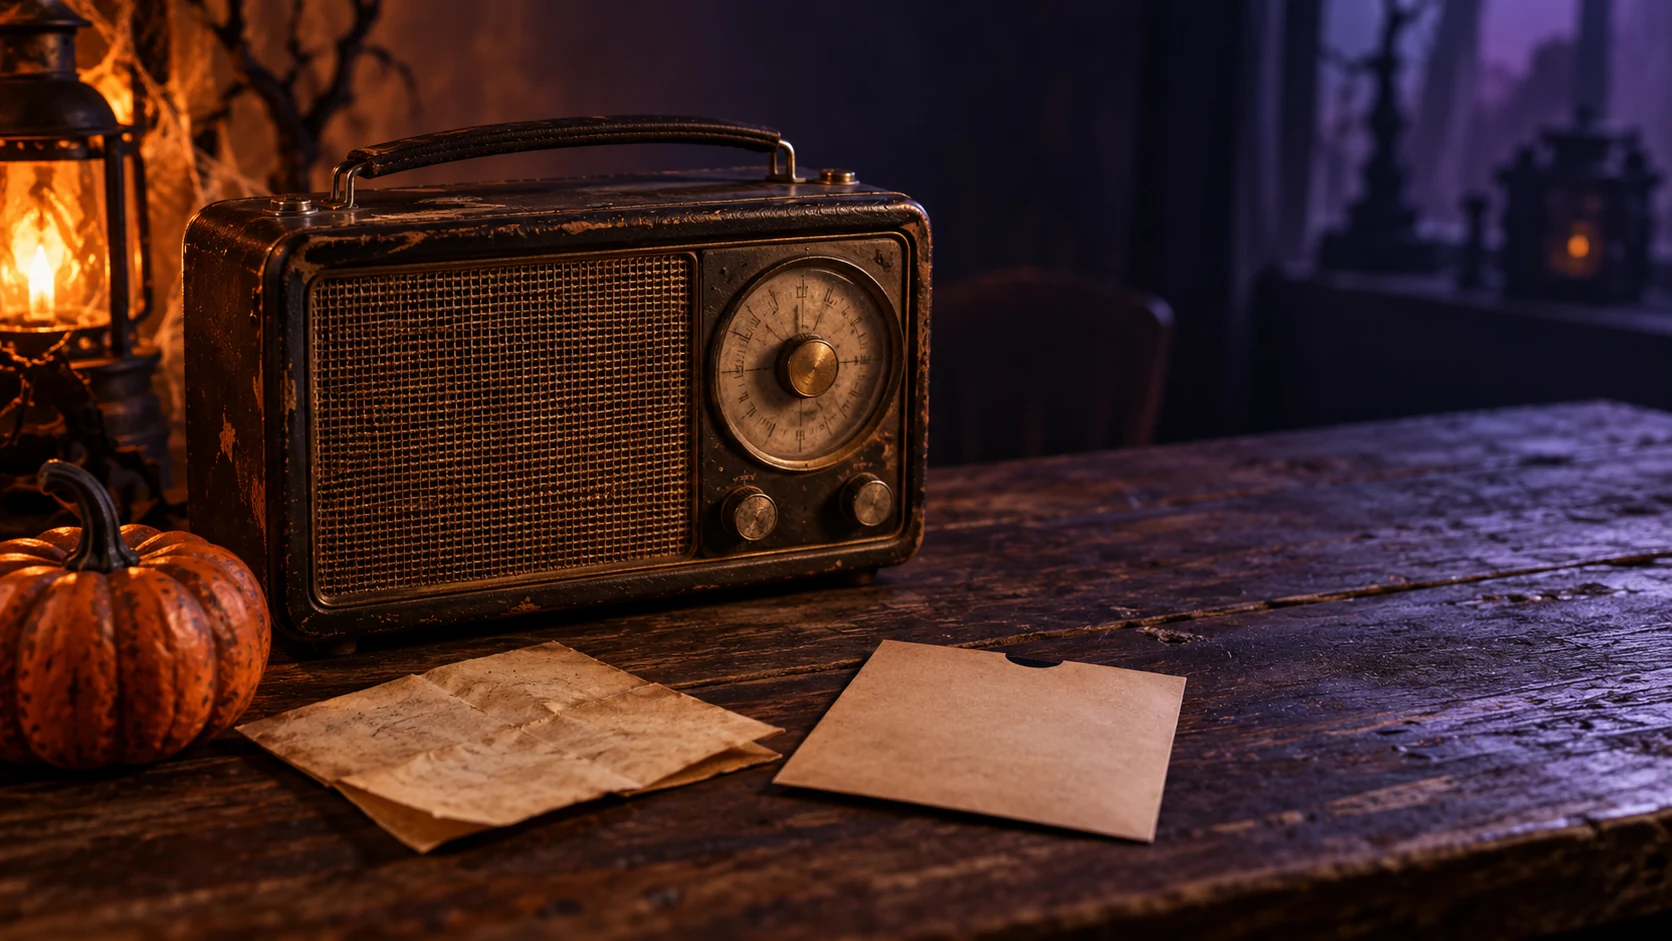
Tell a Halloween story in three photographs: establish a sealed box, reveal a creature shadow beside it, then show the opened box empty. Use REAL, CHEAT, RESULT to plan what the viewer learns in each frame. The method stays hidden, while the changes remain easy to follow.
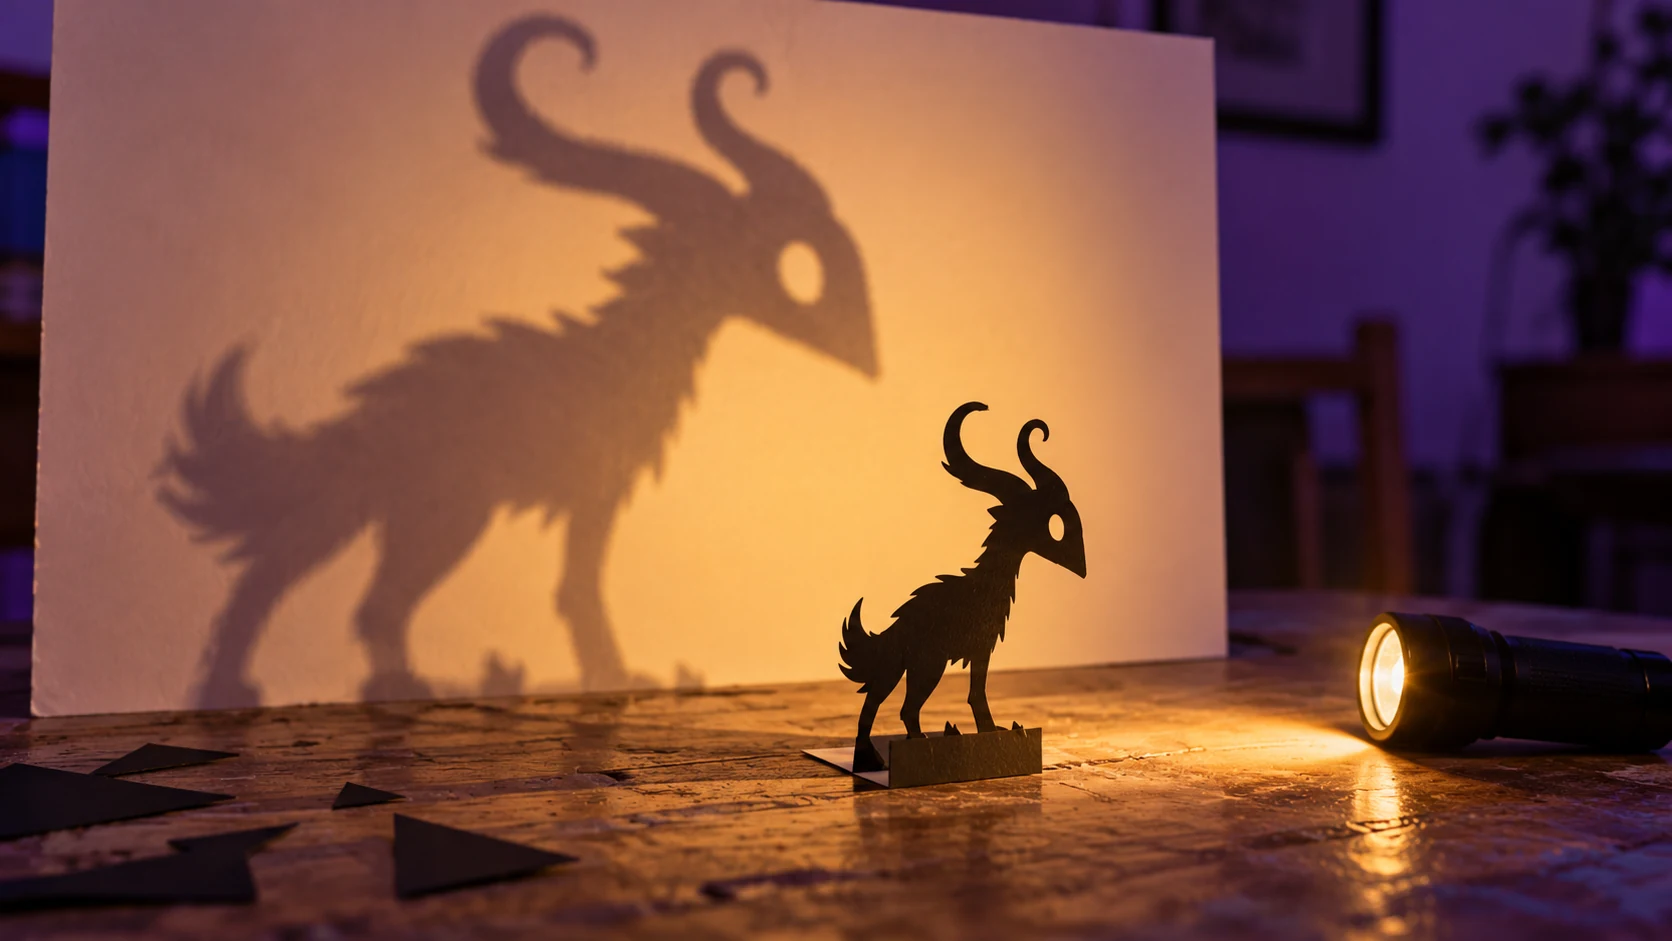
Spooky • no gore. This is a staged tabletop story. Nobody needs to jump out, break anything or handle a working mechanism.
What the three labels mean
REAL establishes the ordinary object and the space. It gives viewers something recognisable to believe in.
CHEAT presents the impossible event using a concealed method. The photograph shows the creature's shadow; the paper shape making it stays outside the frame.
RESULT shows the consequence. The box is open and empty, leaving viewers to wonder where its supposed occupant went.
These are storytelling labels. When you shoot this exercise, the cheat photograph records your physical arrangement. The labels describe its job in the sequence, rather than certifying that something supernatural happened.
Put the kit on the table
Gather:
- A small cardboard box with a lid.
- A removable paper band to make it look sealed.
- Plain card or paper for a background.
- A phone or camera held in the same position for all three photographs.
- A paper creature silhouette with a folded-card support.
- A commercial battery-powered LED light on its supplied stand or base.
Follow the light's instructions and leave clearance around it. Keep the light, paper creature and box stationary for each exposure. This exercise needs no electrical alterations, heat effects or moving rig.
The shadow creature photo guide explains how to make and position the silhouette.
Photo one: establish the promise
Place the closed box on the tabletop with the paper band around it. Leave room beside and behind it for the shadow that will appear later.
Choose a camera angle that will also let viewers see inside the opened box. A slightly raised view is worth testing before you commit.
Photograph the clean arrangement without the creature shadow. The important information is simple: this box appears closed, and we know where it sits.
Avoid filling the frame with unrelated decorations. If you want a companion prop, choose either the cursed VHS tape or haunted radio. Keep the box as the thing we follow.
Photo two: deliver the strange image
Keep the box and camera in place. Add the supported paper creature outside the frame and arrange the LED so its shadow falls beside the box.
Try making the shadow appear to lean over the lid. Check that the silhouette, support and light remain hidden. Take a test and compare it with photo one.
The box must remain recognisable. If everything changes at once, viewers spend time solving the layout instead of noticing the creature.
This is the payoff: one clear impossible-looking image. Our practical FX page gives another route into the studio's physical-effects work; this little sequence is an illustrative project you can arrange yourself.
Photo three: leave a consequence
Remove the paper band, open the box and take away the creature silhouette. Preserve the camera position and the main arrangement.
Angle the lid so viewers can see the empty interior. Keep enough of the box's outline visible to match the earlier pictures.
Now choose the final beat. An open, empty box can feel eerie. A tiny note reading “BACK SOON” makes it more playful. Take both versions and compare them. That second after the reveal is where you choose the tone.
Read the sequence without captions
Place the three pictures side by side. Ask someone to describe what changed and what they imagine happened.
If they miss the sealed box, strengthen photo one. If they cannot locate the creature, simplify photo two. If the ending is unclear, improve the view into the box.
Save a separate behind-the-scenes picture if you want to teach your method. Label the final set as a staged Halloween photo story. You have made an illusion and a tiny narrative; both deserve to be presented clearly.