Make a cursed VHS tape prop by creating a removable fictional sleeve, giving its paper surface a believable history and photographing one troubling clue. Keep the actual tape unchanged. The Halloween effect comes from the label, the wear pattern and the suggestion that someone has already made the mistake of watching it.
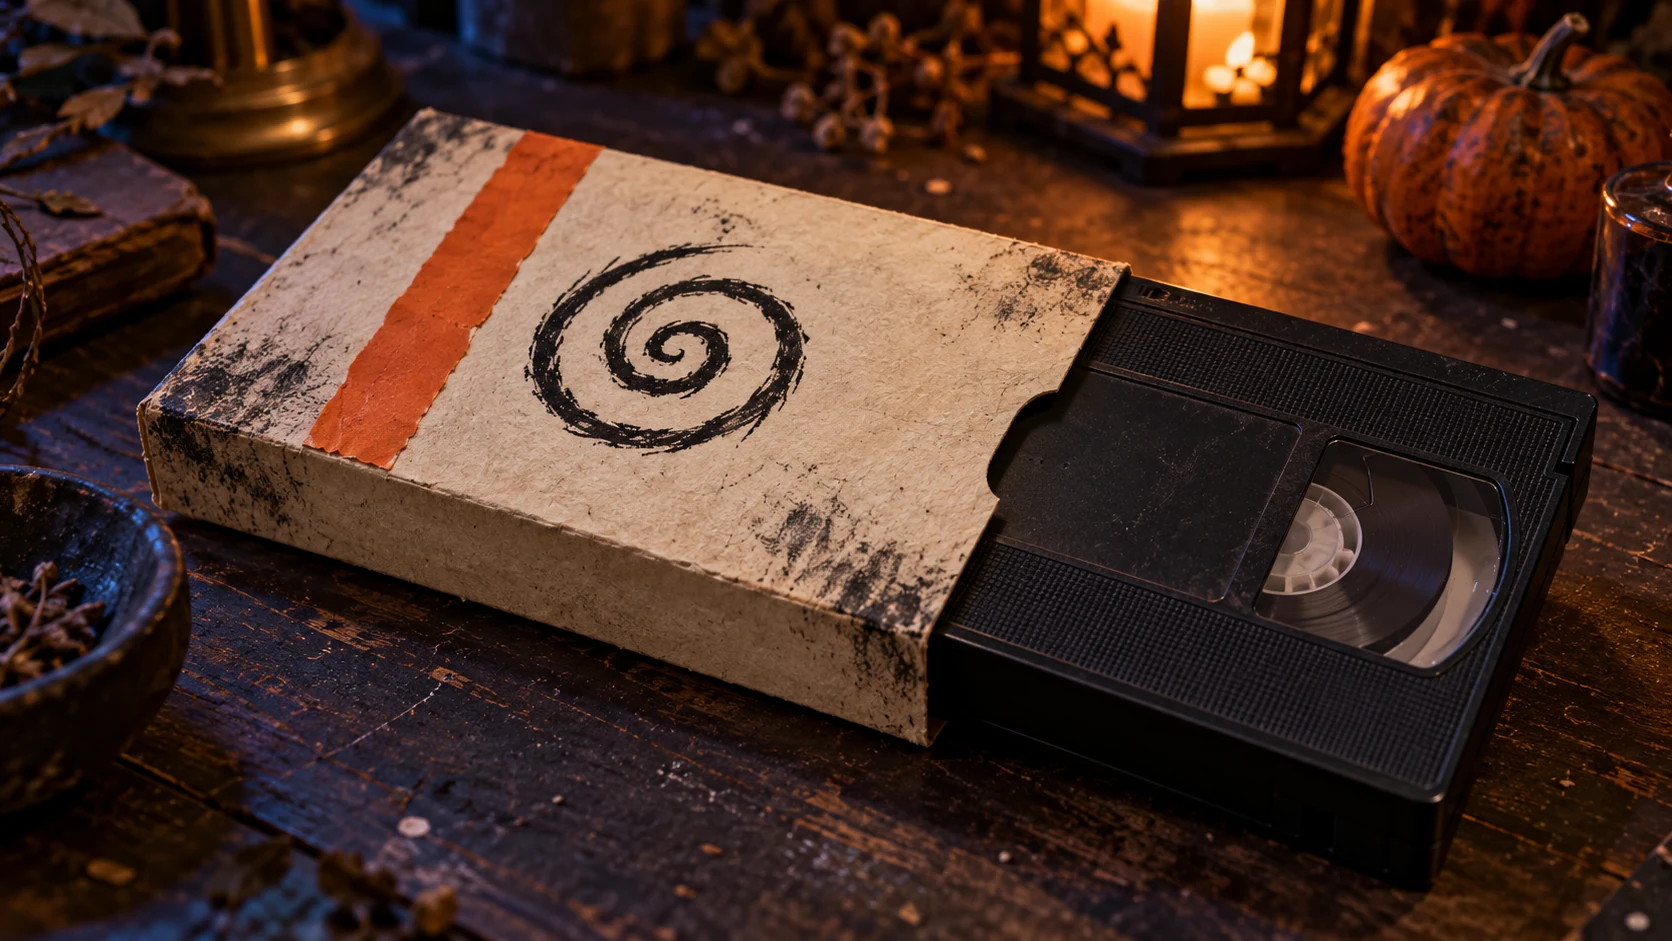
An empty cardboard stand-in also works. You are making an image, so a cassette that can actually play is unnecessary.
Gather the supplies
- A VHS cassette to display without altering, or a plain cardboard stand-in.
- Plain paper or thin card large enough to make a loose sleeve.
- A ruler, pencil, dark marker and scissors.
- Removable tape for joining the sleeve to itself.
- A spare sheet of paper for trial lettering.
- A phone or camera.
- A table, shelf or other clear surface.
- An ordinary lamp or fixed LED light used as intended.
- Optional: a plain envelope and a second sleeve for comparison.
Use your own title and lettering. Leave out existing film artwork, studio logos and recognisable cover designs.
1. Invent the recording
Choose a title that gives the viewer something specific to imagine. “THE LAST HOUSE ON THE DELIVERY ROUTE” suggests a different film from “WATCH AFTER THE PARTY”.
Add one short warning, date or handwritten instruction. For example: “RECORDED 31 OCTOBER — DO NOT REWIND.”
Limit the main information to those two pieces. Small print can supply texture, but it should not carry the story. Write the title on scrap paper first and check whether you can read it from the intended camera distance.
2. Build the loose sleeve
Wrap the paper or card loosely around the cassette or stand-in, allowing it to slide on and off easily. Mark the folds, remove the object and fold the paper on the table.
Join the sleeve’s edges to each other with tape. Keep adhesive away from the cassette. Slide the finished sleeve over the object without forcing it.
A simple sleeve is enough. The beginner practical-effects guide explains how choosing one shot can keep a first project manageable.
3. Give the paper a history
Decide who handled this fictional recording and where it was stored. A borrowed tape might have a crossed-out return date. A hidden recording might carry a careful title and one hurried warning added later.
Draw a small wear map before making marks. Put handling marks near the edges people would grip. Keep protected areas quieter. Suggest a scuffed corner with pencil shading rather than damaging the object underneath.
The prop weathering guide develops this connection between use and appearance. Splatter VHS includes prop distressing in its practical FX work; this sleeve is an original beginner styling exercise.
4. Compose the Halloween photograph
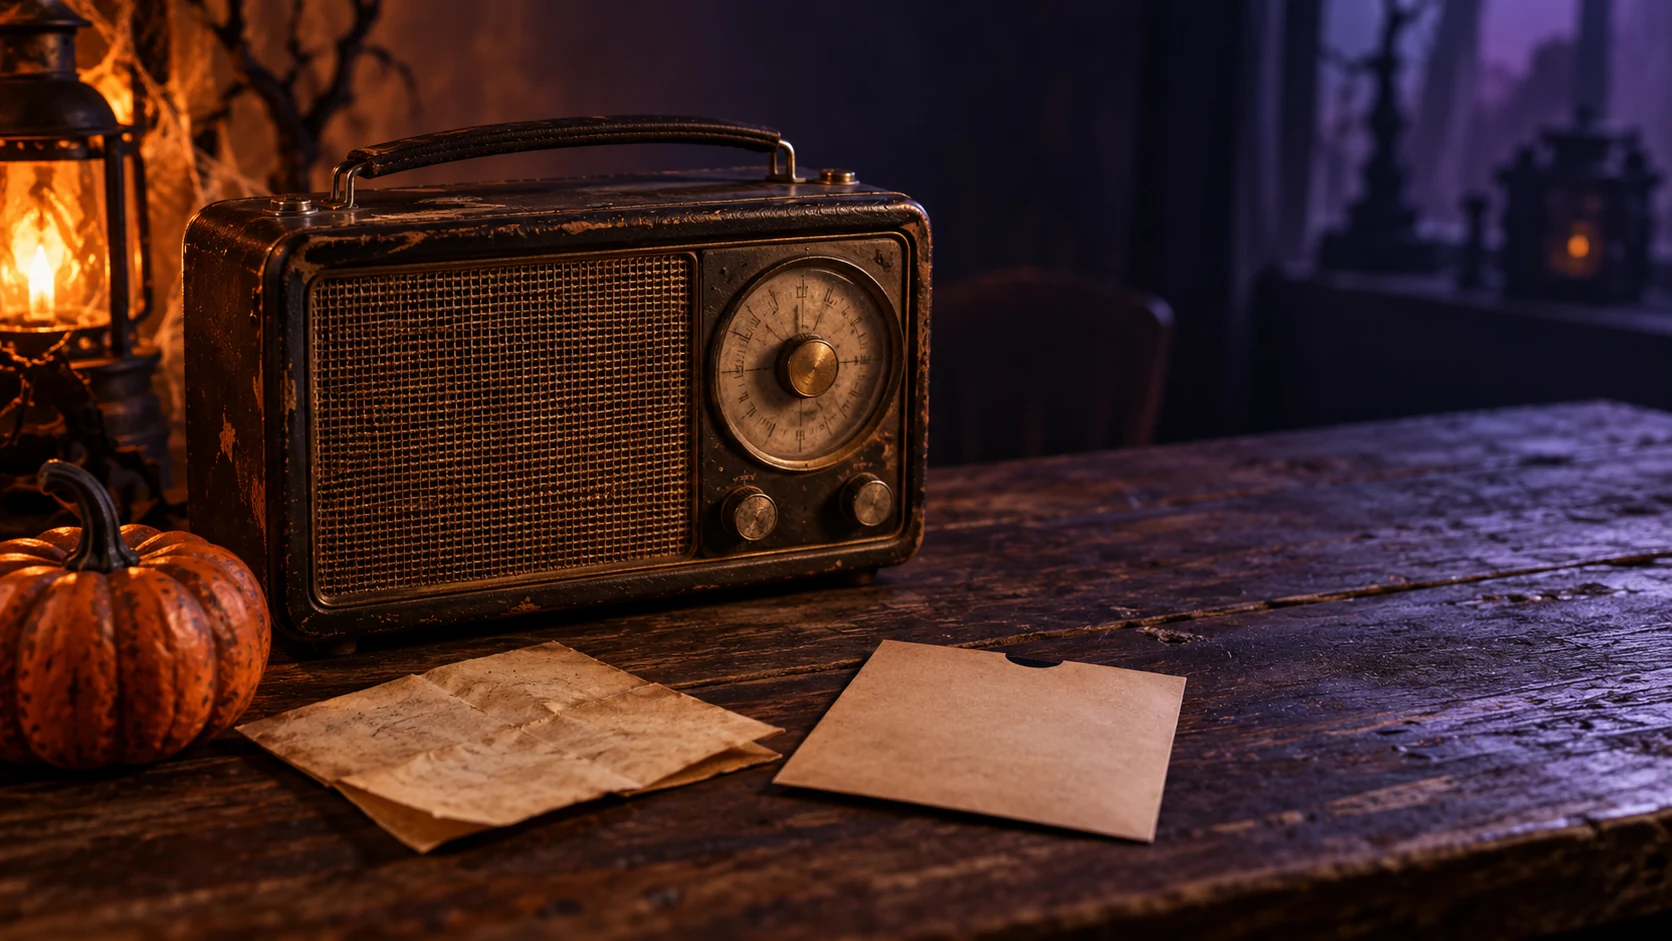
Place the tape diagonally across a plain surface, with the title facing the camera. Let an envelope sit partly beneath it. A handwritten “31 OCTOBER” on the envelope can supply the seasonal detail.
Leave room beside the tape for an absent viewer. A pulled-back chair or the edge of an empty seat can suggest that someone has just stepped away.
Move the lamp until the sleeve has shape and the lettering stays clear. Avoid adding so many props that the recording becomes background decoration.
5. Run the camera test
Take a clean reference photograph before adding the drawn wear, then photograph the finished sleeve from the same position. Compare the images at the size people will actually view them.
Your pass condition: a viewer can read the title, identify the warning and suggest why somebody might hesitate before watching.
If the wear hides the words, reduce it. If the sleeve looks decorative but tells no story, strengthen one clue. Keep the successful frame and the exposed arrangement photograph: together, they show how a few ordinary materials became a cursed object. For a companion display, make a haunted radio photo prop.