Turn an unpowered radio into a haunted Halloween photo prop by giving it one impossible message and a setting that makes that message matter. This project uses the outside of an intact object, a separate paper clue and a carefully composed photograph. The mystery comes from what you arrange around the radio.
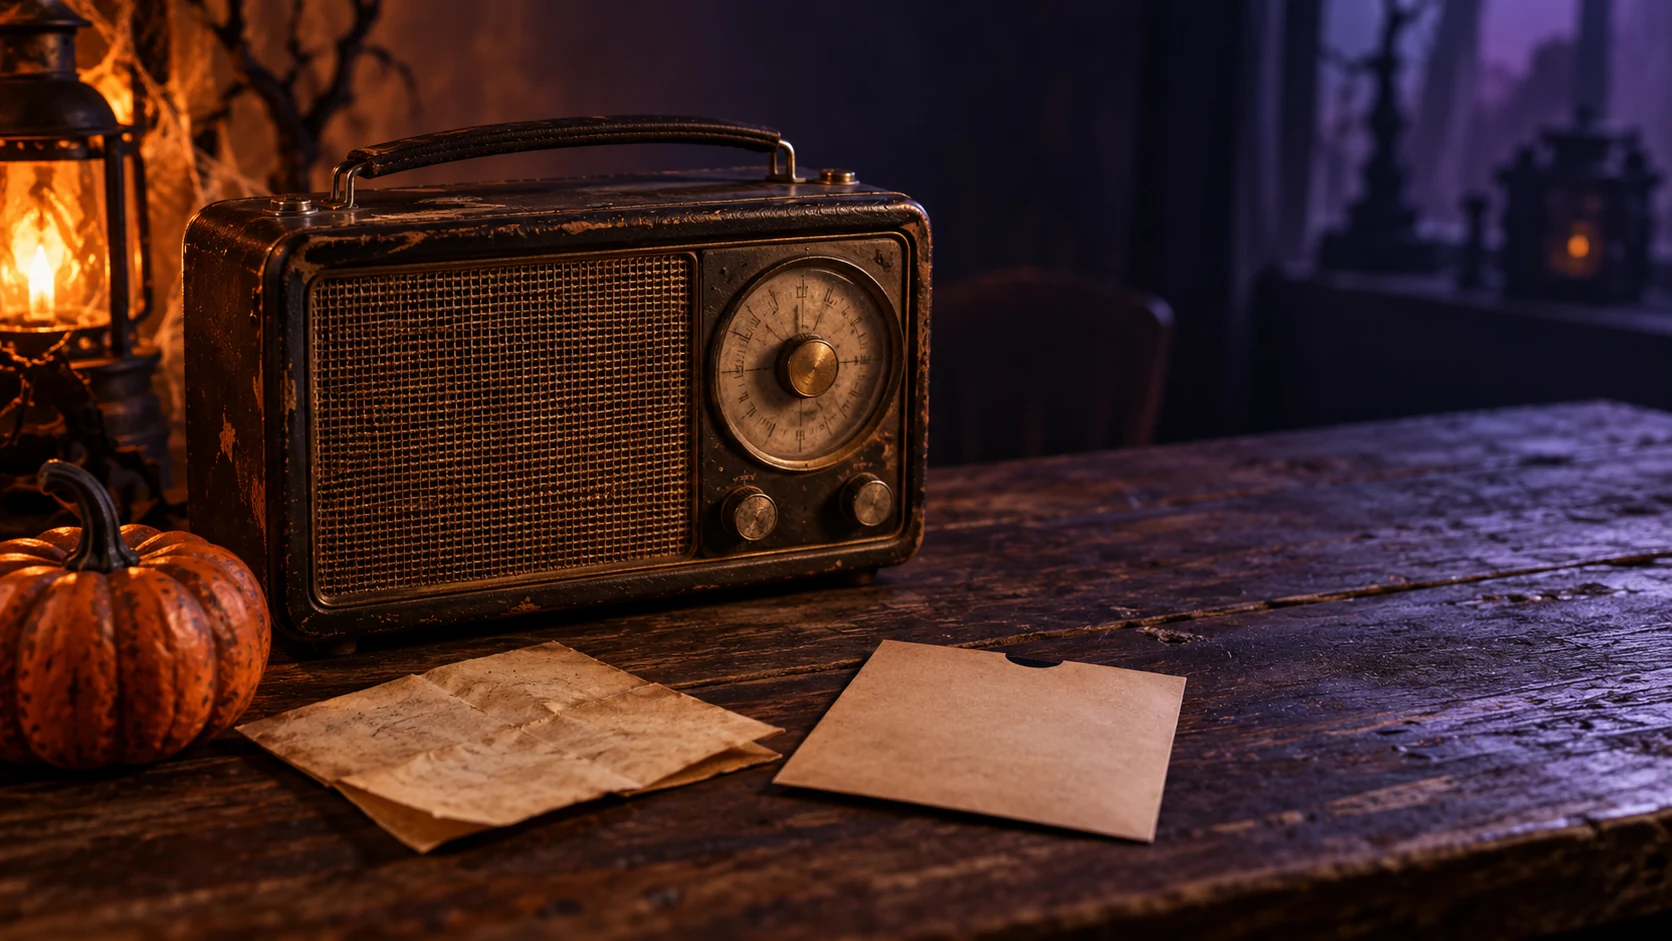
Your finished image will suggest a broadcast that arrived after everyone stopped listening. You do not need a working screen, a glowing dial or a modified circuit.
Gather the supplies
- An intact, unpowered radio, or a plain box styled as a fictional receiver.
- A table or shelf with enough space around the object.
- Plain paper, thin card, a pencil and a dark marker.
- Scissors and removable tape for joining paper to paper.
- A folded sheet of card to support a small sign.
- A phone or camera.
- An ordinary room lamp or fixed LED light used as intended.
- Optional: a plain cloth and an empty envelope.
Keep labels on their own stands or paper wrap. Leave the radio closed and its controls, openings and original finish alone.
1. Choose the message
Write one short fictional transmission. Try “LAST CALL: 31 OCTOBER”, “THE NEXT VOICE WILL BE YOURS” or an invented station name followed by a time.
Choose one. Several competing warnings turn a clue into decoration.
Add one small supporting detail, such as an envelope addressed to “THE LAST LISTENER”. Keep names, addresses and station branding invented. Imagine what someone was doing one second after noticing the message: did they leave the room, drop the envelope or pull their chair back?
That aftermath gives your arrangement a story. For a later video version, use the horror sound design guide to plan the broadcast.
2. Make a separate broadcast card
Cut a small card and write the main message clearly. Fold another piece of card into a standing support and join the paper pieces together. Place this beside the radio, as though someone has just written down what they heard.
Keep the card smaller than the radio. The object should attract attention first, then the message should reward a closer look.
If you want an older appearance, draw a few handling marks around the paper edges. Decide where someone would grip it. The clue needs a history, rather than a uniform coating of random grime.
3. Arrange the Halloween frame
Place the radio towards one side of the table. Put the message nearer the camera and angle it until the writing remains readable. Leave a patch of empty background beside or behind the radio.
For a Halloween version, place the envelope so “31 OCTOBER” is visible. A partly withdrawn chair can imply that its listener has just gone. Keep the palette simple: dark background, pale paper and the radio’s own colour.
Splatter VHS’s practical FX work includes props and distressing. Here, that storytelling approach becomes a small exterior styling exercise.
4. Test the photograph
Start with enough ordinary light to see the arrangement clearly. Frame the shot, then move the lamp or object until a shadow adds shape without hiding the clue.
Take one wider photograph showing the arrangement and one intended final frame. Check both at phone-screen size. Remove a distracting object before adding another decoration.
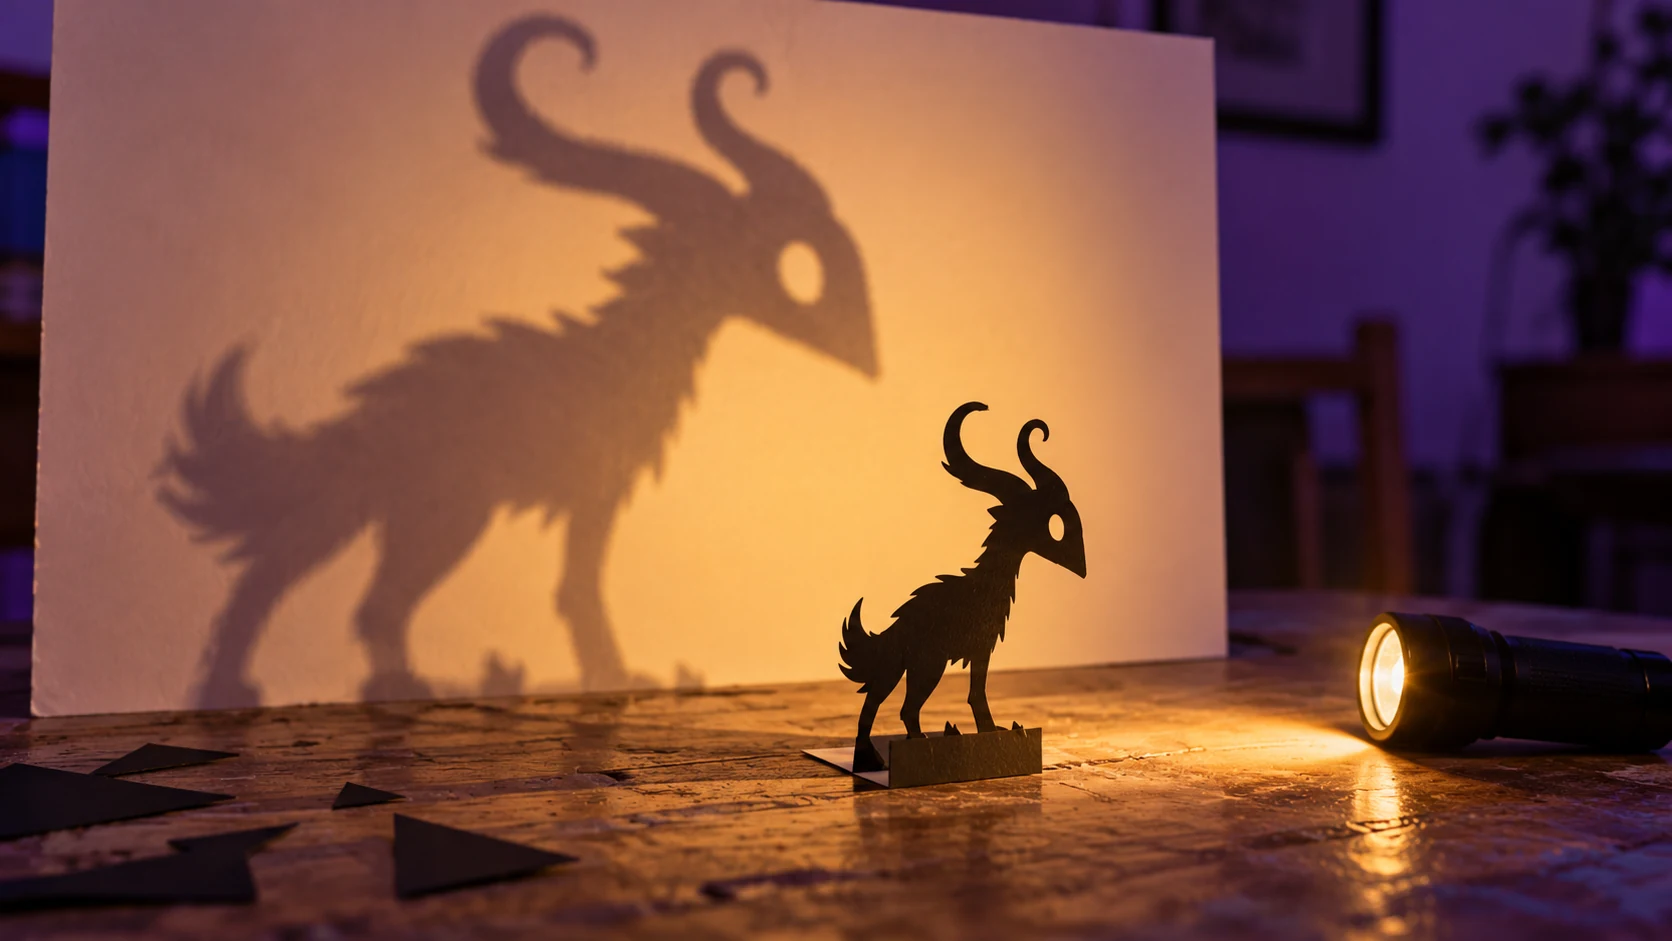
For a second setup, try a tabletop shadow creature behind the radio. Keep it subtle enough that the message still has a job.
5. Check the result
Your pass condition is simple: another person notices the radio, reads the message and can describe one possible thing that happened before the photograph.
If they cannot read the clue, enlarge the writing or change its angle. If they notice only the envelope, simplify it. Finish with one clear mystery and enough empty space for the viewer to imagine its next visitor. The REAL/CHEAT/RESULT project turns the exposed arrangement and final frame into a three-picture story.