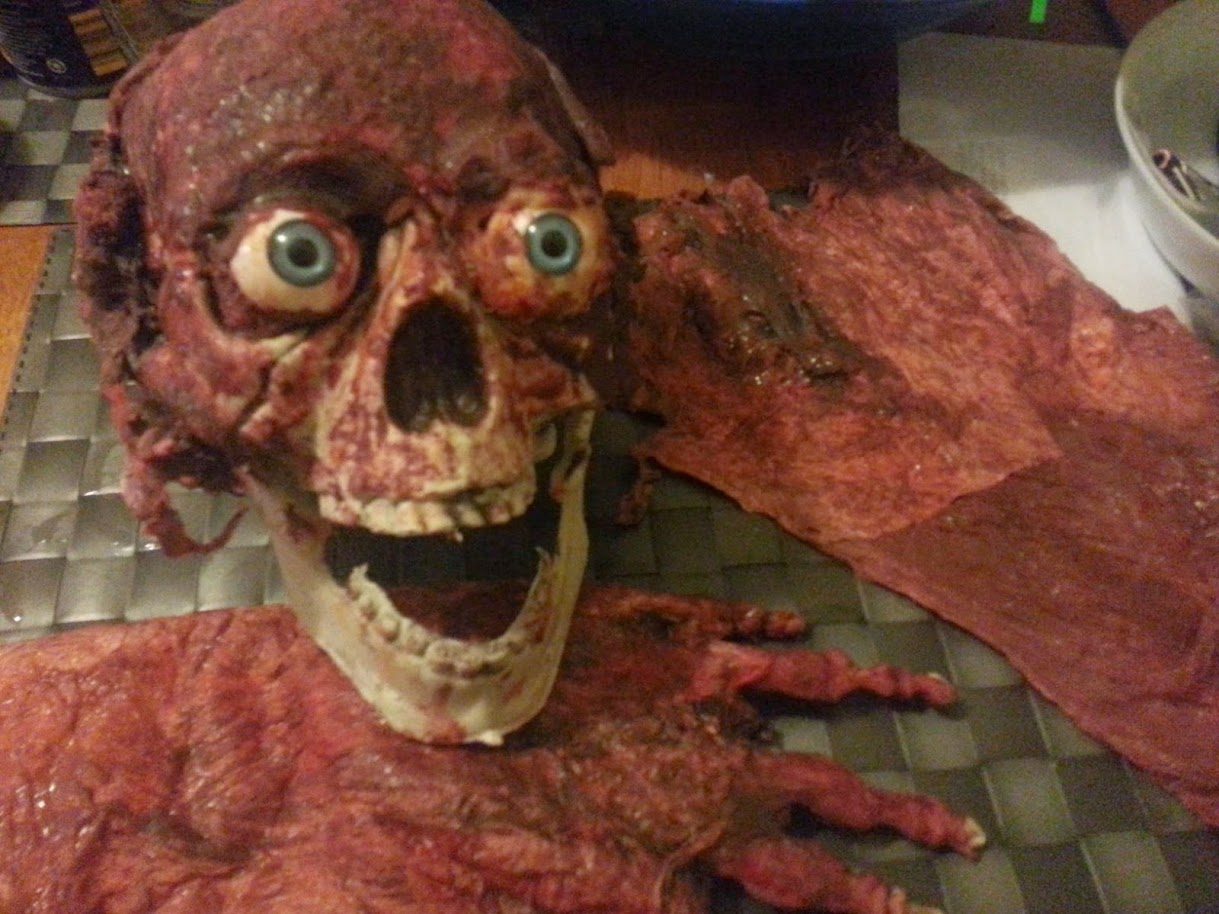
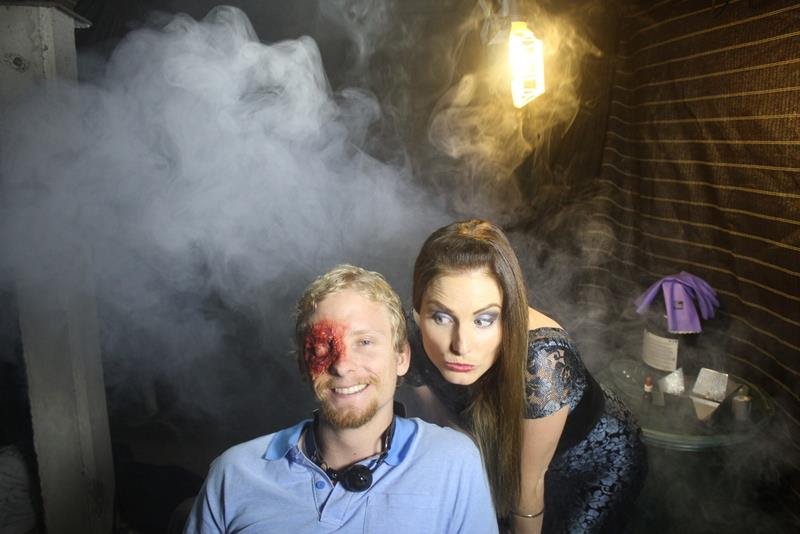
Test fake blood with your camera, lighting and costume before the shoot. Judge its colour, thickness, shine and movement in the recorded image, then record how much you used and how the setup resets. The bottle’s colour is only a starting point. Your scene needs a repeatable result in its own conditions.
Watch from the workshop archive
Watch the original episode, then use the written guide to plan your own version. Older episodes may include extra demonstrations or reviews.
How To Make Fake Blood For Halloween | And a blood paste recipe.
An earlier fake-blood and blood-paste episode from the Outback Gorehouse archive.
Easy Halloween, Special Effects Blood Recipes for Film and Photography.
Kylie, Sabrina and Lily demonstrate a chocolate-topping blood mixture and adjust its appearance.
Decide what the blood is doing in the story. A fresh smear on a hand, a mark already dried into a costume and a moving spill are different visual jobs. One product may not suit all three. Pick materials intended for the surface and type of contact involved, following their instructions.
Define the look before comparing products
Write a short description that the director, effects person and costume person can all understand. Include where the blood begins, whether it moves and how visible it should be.
“Fresh blood covering the palm, with one clear transfer onto a pale sleeve” tells you what to test. “Lots of gore” does not. You need to know whether the important image is the hand, the transfer or the reaction afterwards.
Avoid treating redder as automatically better. You are testing whether a specific colour reads as blood in a specific scene. The surrounding colours, exposure and lighting can change that reading.
Put the test inside the scene’s conditions
Use an offcut or spare piece of the actual costume fabric when possible. For a hard prop, use the same surface finish. Keep a clean sample beside it so you can see the change.
Place the samples in the planned lighting and record the intended shot size. Include movement if the scene contains movement. A material can look convincing while still and become distracting when it runs too quickly or catches a broad highlight.
Check the image through the viewing process you expect to use. If the scene will receive a colour treatment, include a representative version in the test. Preserve the original recording so you can distinguish a material problem from a grading choice.
Run a four-part comparison
Give each sample an identifier. Keep the camera and light unchanged while you compare:
- Colour: Does the blood remain visible against the surface?
- Texture: Does it spread, hold a shape or soak in as needed?
- Reflection: Does its shine support the intended fresh or older appearance?
- Transfer: Does contact leave the mark the next shot requires?
Record a small, measured starting amount using a suitable dispenser. The point is consistency between samples, not finding a universal “correct” quantity.
Splatter VHS includes blood and gore effects among its practical FX disciplines. A useful blood test examines the whole filmed action: the surface, the contact and the resulting mark.
Test what happens after the first take
Leave each sample for the likely delay between setup and filming. Record it again. Check whether it has spread, changed sheen, soaked through or transferred somewhere unexpected.
Practise clean-up and reset on the test material. Do not assume a product will wash out because another product did. For performer contact, use materials suitable for the intended application and follow the product’s testing and use instructions. An appearance test on fabric does not establish skin suitability.
If a scene permanently changes a costume, plan duplicates or a shooting order that accommodates the change. The FX continuity guide explains how to record those changing states.
Make a blood reference card
Keep one card or shared note per approved look. Include the product name, intended surface, sample identifier, starting amount, placement photograph, time since application, lighting setup and reset requirements.
Add a still from the successful camera test. A phone photograph helps with placement; the camera still records the appearance you approved. Label both clearly.
Before shooting, read the card against the horror shot list. Confirm which shots show the clean state, the initial contact and the final stain. A convincing blood effect becomes much easier to shoot when everyone knows which bloody hand belongs in which moment.
A darker Halloween variation
Use an invented paper invitation or spare costume offcut as your test surface. Compare a clean version, one controlled mark and a later story state. Keep this separate from the no-gore projects and describe the stage-blood content when you share it. Nothing needs to touch a performer for this camera test.