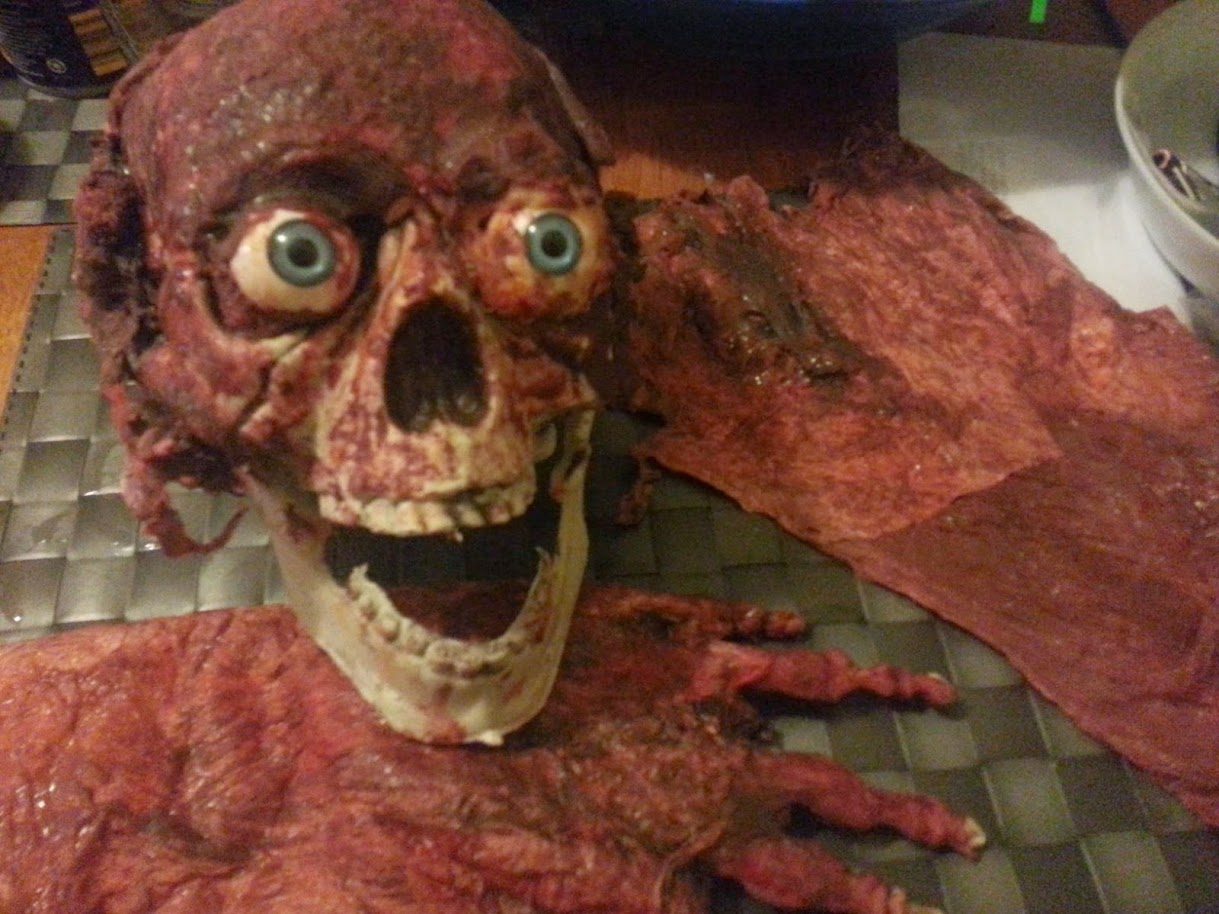
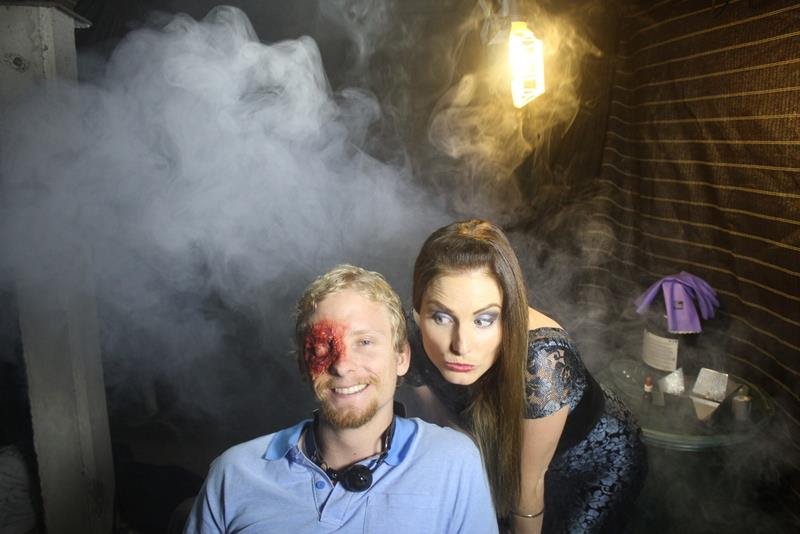
Practical effects are physical elements created for the camera: makeup, props, creatures, mechanical movement and other effects present during filming. CGI creates imagery digitally. A horror shot can use either approach or combine them. The useful question is what must happen in the frame, and what your production can reliably deliver.
At Splatter VHS, practical effects are a major part of the workshop. That makes physical problem solving a starting point. It does not make every problem a job for another bucket of latex.
Describe the image before choosing the method
“The creature attacks” is too vague to build or budget. “A wet fingertip slides around the doorframe while a person watches from the other side” describes a visible event.
Now ask what must be real within that event. Does an actor need to grip it? Does it need to leave a mark? Can the movement happen just outside frame? Will the camera move around it? Is the whole creature visible, or only the part carrying the threat?
A single convincing fragment may serve the scene better than an ambitious full-body reveal. That is a storytelling choice as much as a materials choice.
Where a physical effect earns its place
A physical object gives the cast and crew something to position, light and respond to. You can inspect its surface through the shooting camera and adjust it while the shot is being built.
That immediacy is useful when interaction matters. A character finding an unfamiliar object can react to its weight and dimensions. A moving silhouette can be rehearsed against the set.
Physical work also has limits. A finish may look wrong under the chosen light. A mechanism may require space the location does not have. A wet effect can change the set between takes. Plan continuity and resets alongside the reveal.
Where digital work earns its place
Digital imagery can extend something that would be difficult to construct, remove a visible support or alter part of a shot after filming. It still needs a production plan.
Before relying on a digital fix, identify the person doing the work, their available time and the footage they need. Camera movement, occlusion and changing light can all affect how a proposed addition must be handled. Talk through the actual shot with the artist.
“Fix it later” is not a brief. A useful brief names the change, the reference, the delivery format and the point at which the result will be reviewed.
Combining methods without doubling the problem
Consider a fictional shot of a creature watching through a vent. A physical grille and partial creature surface could provide the close interaction. A digital adjustment might remove a support or extend the darkness behind it.
That combination only helps if the join has been planned. Who records the reference? What needs a separate take? Which surface must stay clear? What happens if the cleanup cannot be completed?
You can also solve the moment through framing, editing and sound design. Sometimes the strongest extra effect is the one the audience builds in its own head.
Run a comparison before committing
Use the same short brief for two rough tests:
- Sketch the finished frame and mark the essential visible action.
- Make a crude physical version with the resources already available.
- Make a simple digital mock-up or ask the intended artist for a feasibility pass.
- Compare the tests at the intended viewing size.
- Count setup time, production time, resets, cleanup and finishing work.
- Choose the approach that survives those limits while keeping the intended reaction.
This is a test of the image, not a competition between toolboxes. A cheap mock-up that exposes a problem has done useful work.
Carry the choice into the shoot
Write the chosen method into the shot list. Assign responsibility for preparation, operation, continuity and finishing. If a particular angle hides a limitation, record that angle so a later setup does not undo the illusion.
Then follow the beginner effects planning guide to turn the decision into a small, testable build.
Make the effect serve the scene. The audience has come for the feeling.
Halloween test
Sketch a tiny creature peering around a decorative pumpkin. Compare a paper silhouette, a partial prop and a simple image mock-up before choosing a method. Keep the framing identical so the comparison answers one question. Use the shadow-creature exercise for a physical starting point.